This post was written by our former University of New Hampshire dietetic intern Jennifer Behymer, MS as part of a mini blog series on fermented dairy.
—
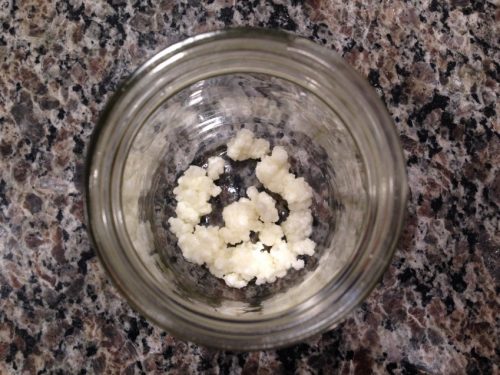
Do you like the idea of making things from scratch? Have you ever wanted to make your own kefir? As part of my introduction to working as an intern with the New England Dairy & Food Council, I started learning more about different types of fermented dairy. As I started researching kefir out of curiosity, I found out it is super easy to make at home. Becca Story, a registered dietitian with New England Dairy & Food Council, was nice enough to share some kefir grains (live starter cultures that ferment) with me.
One of the first things that caught my attention about kefir is that it’s a drinkable fermented dairy product. Like yogurt, it’s also a source of probiotics, which support gut health. Like other dairy products, kefir made with cow’s milk is also a source of essential nutrients such as calcium, protein, and vitamin D.
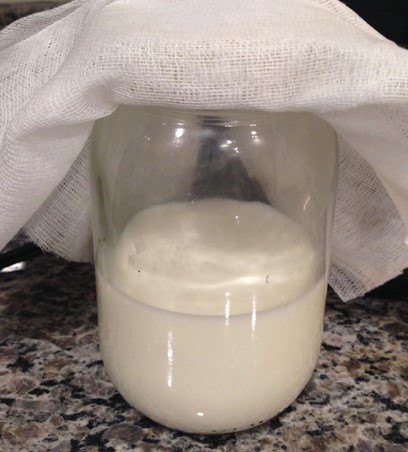
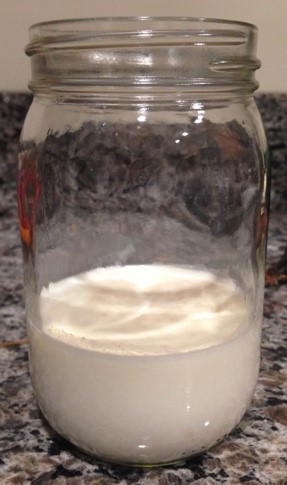
Once you have kefir grains in a jar, simply add ½ – 1 cup of milk (we used whole milk for this recipe*). Cover it with cheesecloth (a disposable coffee filter can work too) and secure it with the jar top ring. This allows the kefir to breath and not turn sour. Let the jar sit at room temperature (68-85°F) for 48 hours to allow the kefir grains to ferment the milk. As time goes on, you’ll notice the milk start to thicken, and a ring may appear at the milk’s line on the inside of the jar. At the end of approximately 48 hours, your kefir grains and milk will have transformed into freshly-made kefir.
When it comes time to strain the kefir, feel free to experiment to determine the technique that works best for you. I found that lining a strainer with cheesecloth before pouring the kefir through worked for me. I then gathered the cheesecloth up around the grains and ran my fingers down it while squeezing to help further separate the kefir.
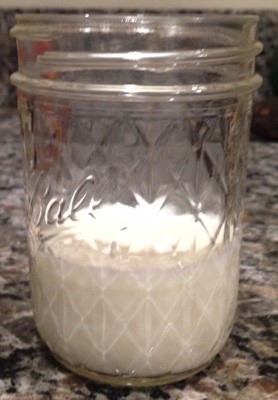
You can now pour your newly made kefir into a jar for storage in the refrigerator. Make sure to cover it tightly with a lid before placing in the fridge. Once your new kefir is safely put away in the fridge, make sure to save the grains for the next batch.
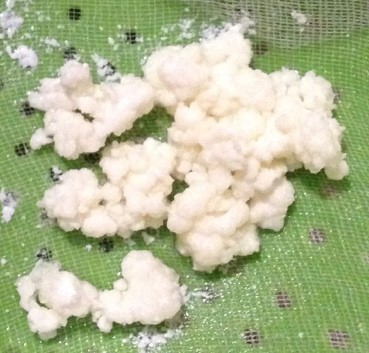
To save the grains, scoop out any large ones and place them in a strainer lined with cheese cloth. Gather up the cheesecloth around them and rinse them with cool water. If there are any remaining small grains in the cheesecloth that was used to strain the kefir, rinse these off with cold water too. Transfer any remaining kefir grains into a clean pint-size jar (or multiple). To make a new batch of kefir, simply place another ½-1 cup of milk over the grains and repeat the process.
*1% and skim milk can be used if desired, though the end-product will not be as rich.
Make Your Own Kefir Recipe
Recipe adapted from Homemade Kefir Recipe
Directions:
- Transfer the kefir grains into mason jar. Add up to 2 cups of fresh milk. Can be cold or room temp. Note: I usually use ½-1 cup kefir a day, and so only use around that amount of milk.
- Cover with a coffee filter or cloth secured by a jar ring or rubber band so that the mixture can breathe while it ferments.
- Place in a room temperature-to-warm spot, 68°-85°F, for fermentation (I prefer keep it on the counter out of sunlight in small brown paper bag).
- Allow to culture until milk is slightly thickened, generally 24-48 hours depending on how warm your room is.
- Drain cultured milk through strainer into measuring cup or bowl (can line strainer with cheese cloth). Press lightly with spoon or spatula to help cultured milk strain through.
- Pour kefir into clean storage container/jar for use.
- Rinse kefir grains in strainer or cheesecloth under clean, cool water, and add to a separate clean jar.
- Repeat steps 1-7 for the next batch!
Cooking Notes:
- Make a back-up: Once you have grown about a ½ cup of kefir grains, freeze half for your back up by placing ¼ cup grains and ¼ cup milk in sealable freezer bag, gently pressing out air gaps. Use the remaining ¼ cup to continue daily kefir making. When/if you need to use your back up– thaw the bag in the refrigerator overnight and start process at step 1.
- Vacation Maintenance: If I know I will not be making kefir for a week, I will place the rinsed grains into a fresh jar, add fresh milk, and keep it in the fridge until I get back.
Updated: December 27, 2017